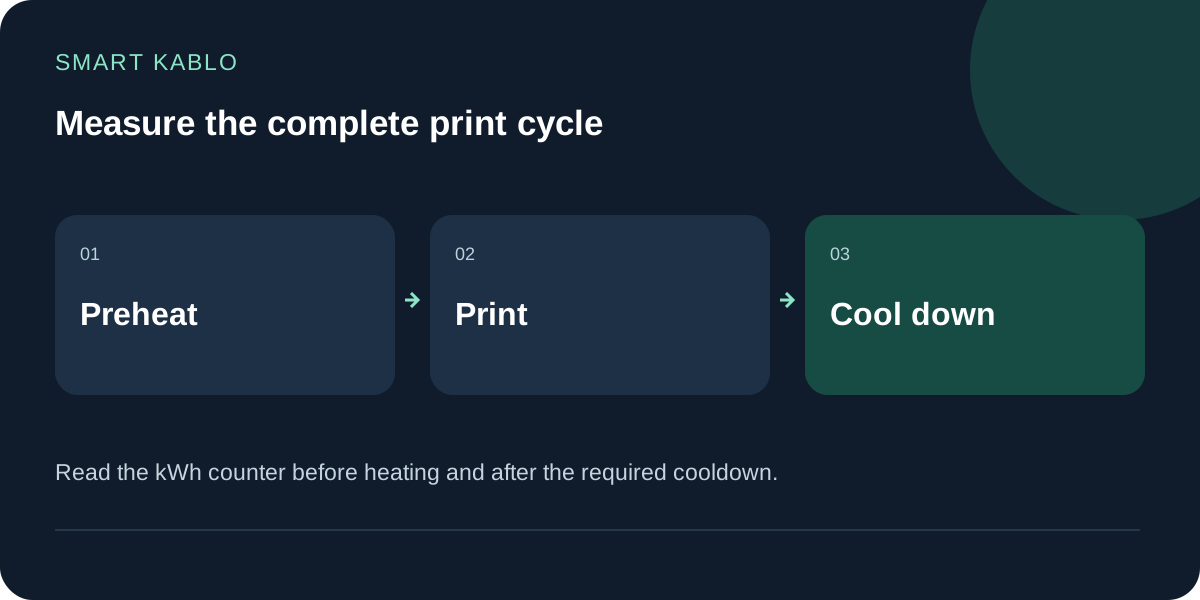
Record the kWh counter before preheating and again after the required cooldown. Their difference is the energy used for the measured job. Multiply by your own electricity rate. Remote supply switching needs a separate check of the printer inlet, startup load and shutdown procedure.
How much electricity does a 3D printer use?
Heated beds, nozzles, motors, electronics and any heated chamber contribute to the total. Material temperature, room conditions, print length and the exact machine change consumption. Heating peaks and the average during printing are different readings.
The power-supply rating describes capacity, not constant energy use. Prusa's own documentation gives different consumption figures for specific machines and printing conditions. Those figures do not establish compatibility with Smart Kablo or predict another printer's consumption.
Illustrative calculation: a printer averaging 120 W across a 10-hour measurement uses 1.2 kWh. This is a mathematical assumption, not a tested result for Bambu Lab, Creality Ender, Prusa or any other model.
3D printer electricity cost calculator
Use the measured-energy method if you have starting and final kWh readings. Otherwise enter a representative average watt value and total measured duration. Include heating and the manufacturer's cooldown period when comparing complete jobs.
Ten-hour print examples with explicit power assumptions
This table demonstrates one formula; it is not a printer-model comparison or a current tariff. It covers electricity only, excluding filament, labour, depreciation, failed prints, standby and separately supplied accessories. Do not add accessories again if they are already inside your measured boundary.
| Assumed average power | Energy over 10 hours | Cost at an assumed 4 currency units/kWh |
|---|---|---|
| 80 W | 0.8 kWh | 3.20 currency units |
| 120 W | 1.2 kWh | 4.80 currency units |
| 250 W | 2.5 kWh | 10.00 currency units |
A print-level measurement you can repeat
- Keep the boundary fixed. Note whether the meter includes only the printer or also accessories.
- Start before heating. Record time and the initial kWh counter while the printer is cold.
- Record the profile. Keep the material, bed and nozzle temperatures, room conditions and job duration with the reading.
- Complete cooldown. Follow the manufacturer's shutdown procedure before reading the final counter.
- Subtract the counters. The final-minus-initial kWh difference belongs to that interval. A daily graph may contain several prints.
A drying box, enclosure heater or second printer on another supply will not appear in a printer-only measurement. Add separately measured accessories if your aim is total production electricity cost.
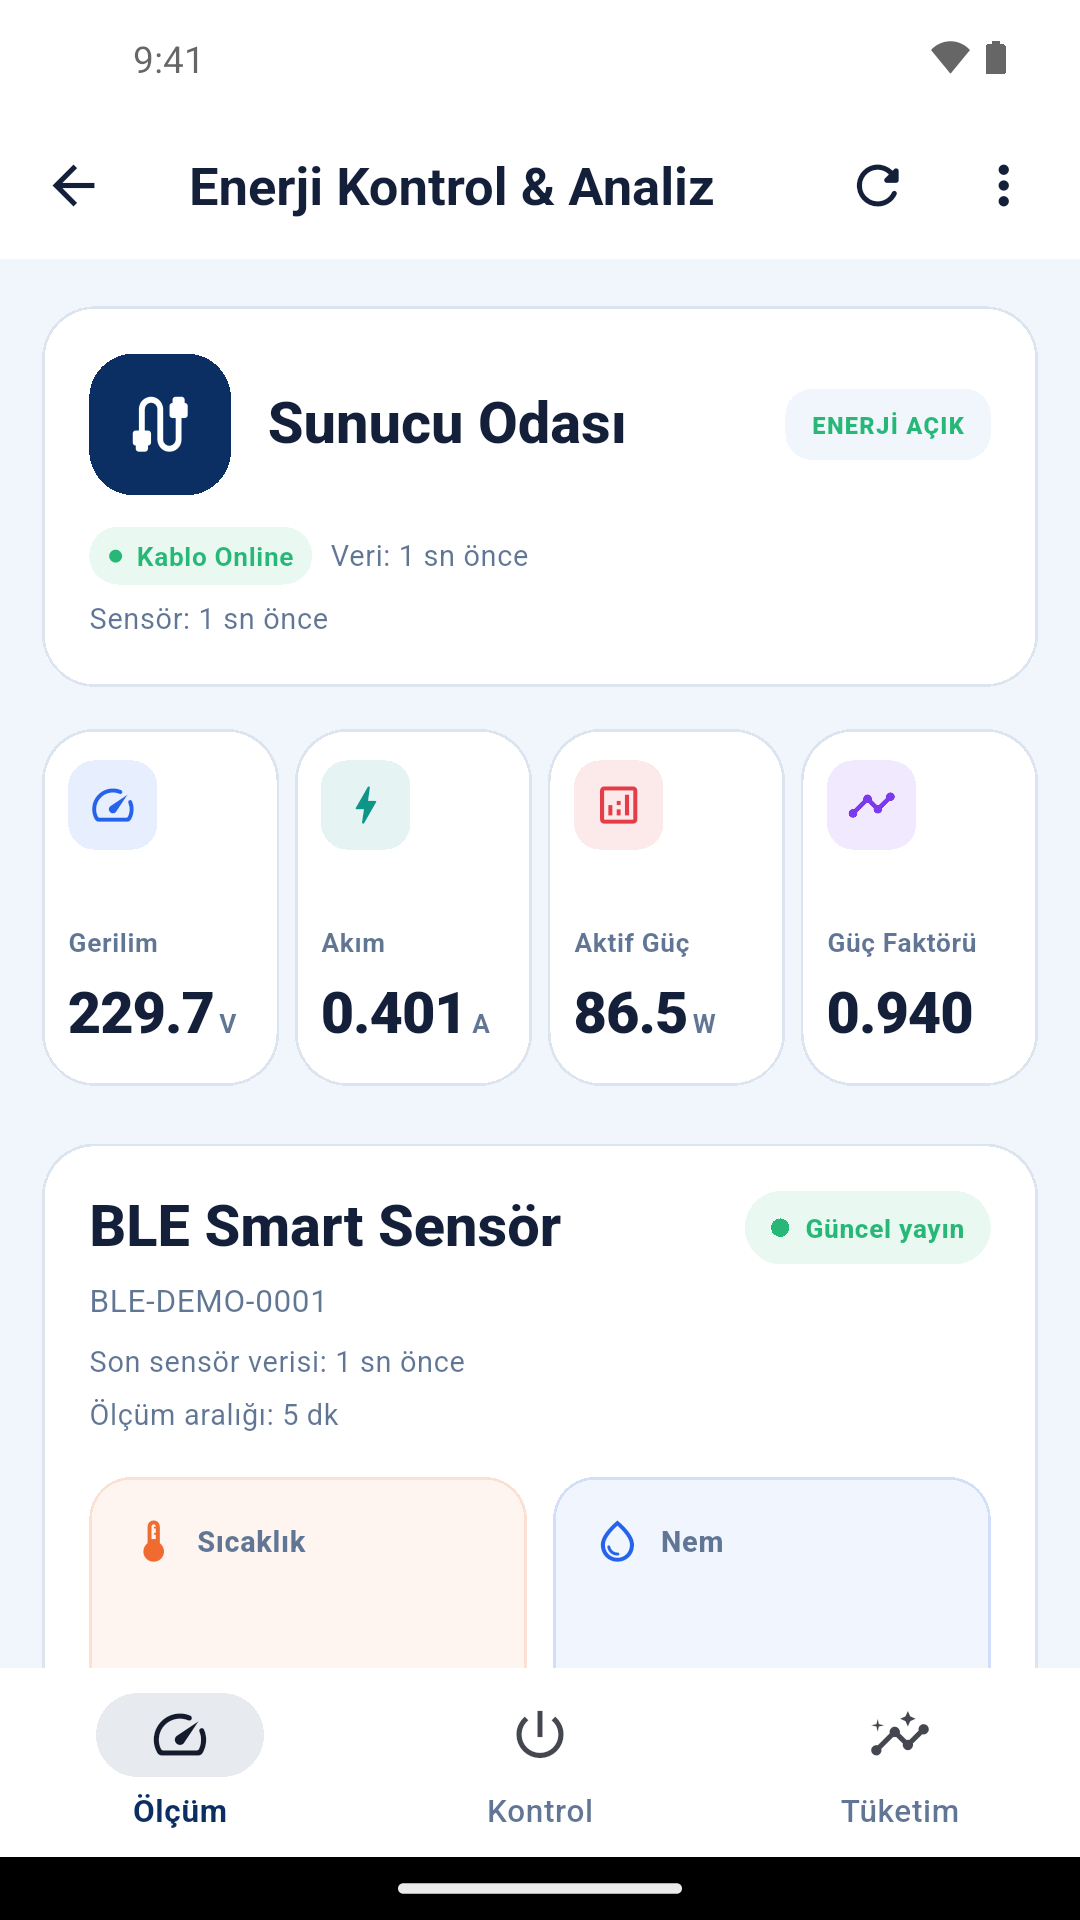
See the actual measurement and consumption views on the Smart Kablo Android app page.
Can I turn a 3D printer on and off remotely?
In a compatible installation, Smart Kablo provides authorised control of the electrical supply. Smart Cloud and Android remote control require working Wi-Fi, internet access and account permissions. Bluetooth is used for nearby setup.
Applying mains power does not upload a file, start a print or override a physical power switch. Confirm the printer's own behaviour before relying on unattended startup. For routine shutdown, finish the job and complete the manufacturer's cooling sequence before switching off supply.
- Check the printer inlet, nameplate current and the manufacturer’s shutdown procedure.
- Select the compatible cable model and load rating; make physical connections with the supply isolated.
- Complete nearby setup, pair the device to the intended account and verify Wi-Fi access.
- After applying power, confirm readiness on the printer display or printer software. A separate physical switch may need additional action.
- Before removing power, finish or stop the job through the printer interface and complete the required cooldown.
Can power switch off automatically after a print?
A reliable workflow needs a confirmed finished state, disabled heaters and completed cooldown. A fixed timer cannot know that a print paused or ran longer than expected. A fall in watts alone does not prove the job is finished.
Klipper/Moonraker, OctoPrint or another controller may provide the required job and temperature states. Check that controller's documented integration path and the installed Smart Kablo REST API. Moonraker's power-device documentation describes safeguards such as locking power control during printing. This is not a claim that Smart Kablo has a ready-made native plugin.
Smart plug or Smart Kablo for a 3D printer?
Both approaches can address supply control and energy measurement, but connector fit, switching load, heating demand and access requirements still determine suitability.
| Check | Smart plug | Schuko–C13 Smart Kablo |
|---|---|---|
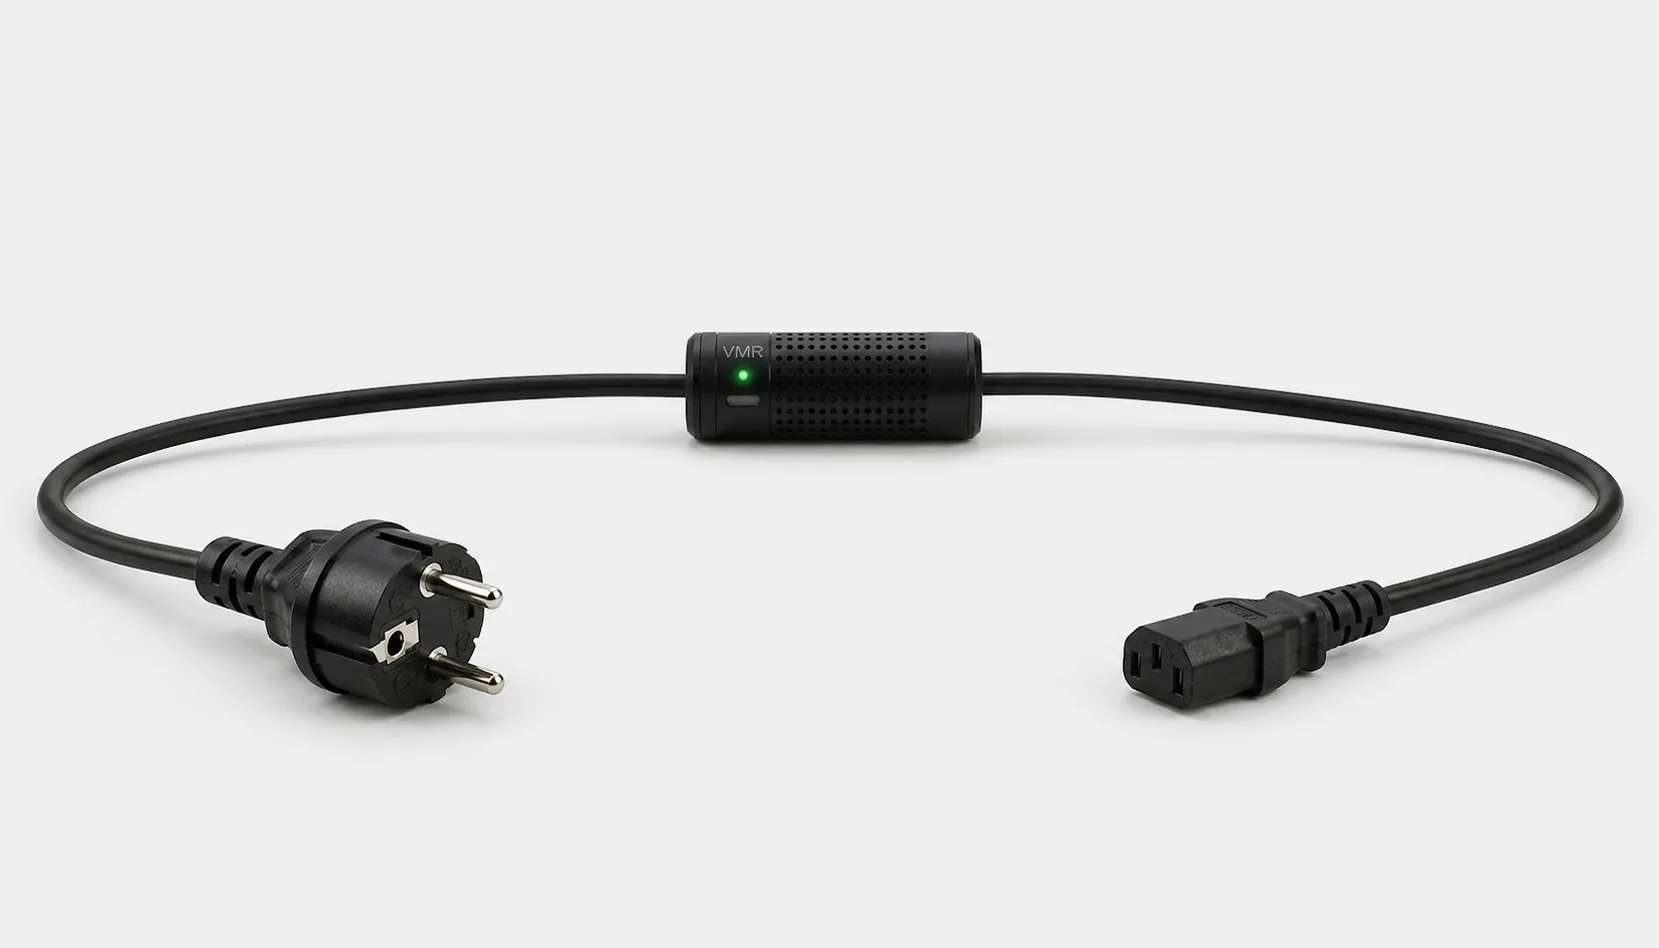
| Printer connection | Depends on outlet type and exact model | Schuko source → C13 cable output → C14 printer inlet |
| Energy measurement | Not included in every model; check kWh and history support | Current, voltage, power and energy monitoring |
| Remote control | App and network requirements depend on the product | Authorised Smart Cloud / Android relay control |
| Load limit | Verify the manufacturer’s switching and load ratings | 5 A continuous; separately assess nameplate and initial heating load |
| End-of-print automation | Do not assume ready-made support; printer integration is required | A separate REST API integration must be implemented and tested |
Compare the wider approaches in the smart plug and smart power cable guide.
Check the exact inlet and heating load
Current C13-output Smart Kablo models need a compatible C14 equipment inlet. Check the printer's electrical label, the 5 A continuous limit and its initial heating/startup load. Brand names alone do not establish compatibility.
For a grounded Schuko source, review the Schuko–C13 model. Do not assume direct compatibility with C5, C7, DC inputs, captive leads or an external adapter. The IEC connector guide shows the connector families.
This guide does not publish a tested-model approval list. Send the exact printer model, inlet photo and electrical label for a compatibility review. Low measured average watts alone do not establish a safe switching load.
Connection checks for Bambu Lab, Ender and Prusa printers
Evaluate the full model and print profile when researching Bambu Lab or Ender power consumption. Different generations from one brand can have different inlets and heating demand. This page does not publish a brand-wide approval list or physical print tests completed with Smart Kablo.
- Does the printer have an IEC C14 mains inlet?
- Does its nameplate input current meet the 5 A limit?
- Has the initial heating peak been assessed?
- Are the manufacturer’s cooling and shutdown steps known?
- Has the physical power-switch behaviour been checked?
- Are accessories included in the total connected load?
Send the exact model, inlet photo and nameplate to the technical team. A low average watt reading does not by itself establish switching-load suitability.
What if the supply voltage becomes too high?
Smart Kablo automatically opens its relay and disconnects the printer supply on detected overvoltage. This adds a protection layer that helps limit exposure, but the interruption can fail the print. Confirm the installed threshold and power-restoration behaviour.
It does not provide UPS runtime or guarantee protection against every transient. Read the overvoltage cutoff guide and include both equipment protection and print recovery in your plan.
Frequently asked questions
How much electricity does a 3D printer use per hour?
There is no fixed figure. A printer assumed to average 120 W uses 0.12 kWh in one hour or 1.2 kWh in ten hours. These are calculations, not measurements of your model. Measure the kWh difference across heating, printing and cooldown.
How do I calculate the electricity cost of a print?
Multiply the measured kWh used during the complete print by your electricity rate per kWh. If only representative average watts are known, use kWh = average W × hours ÷ 1,000. Filament, labour and depreciation are excluded.
Can I switch a printer on and off from my phone?
Where the inlet and load are compatible, authorised Smart Cloud or Android control can manage the supply. The physical switch must be in an appropriate position and the network connection must work. Applying electricity does not itself start a print.
Can I switch the printer off as soon as the print ends?
Complete the manufacturer’s cooldown before removing power. Finished printing, disabled heaters and completed cooling are separate conditions. Low watts or a fixed timer alone cannot confirm all of them.
Does Smart Kablo fit every Bambu Lab, Ender and Prusa model?
No brand-wide compatibility claim is made. Check the exact model, inlet, nameplate current and initial heating load. Current C13-output models require a compatible C14 equipment inlet and compliance with the 5 A limit. This page publishes no model-specific physical test result.
Is automatic shutdown ready-made for Klipper, OctoPrint or Home Assistant?
The Smart Kablo REST measurement and relay endpoints are documented. This page does not offer a ready-made, tested plugin for those platforms. A separate integration must verify print state and the manufacturer’s cooling conditions and be tested with the actual printer.